Product photography at home for ecommerce listings
Show the product honestly and consistently. Use daylight, a simple background and a stable camera. Capture a clean front view, useful details and a scal
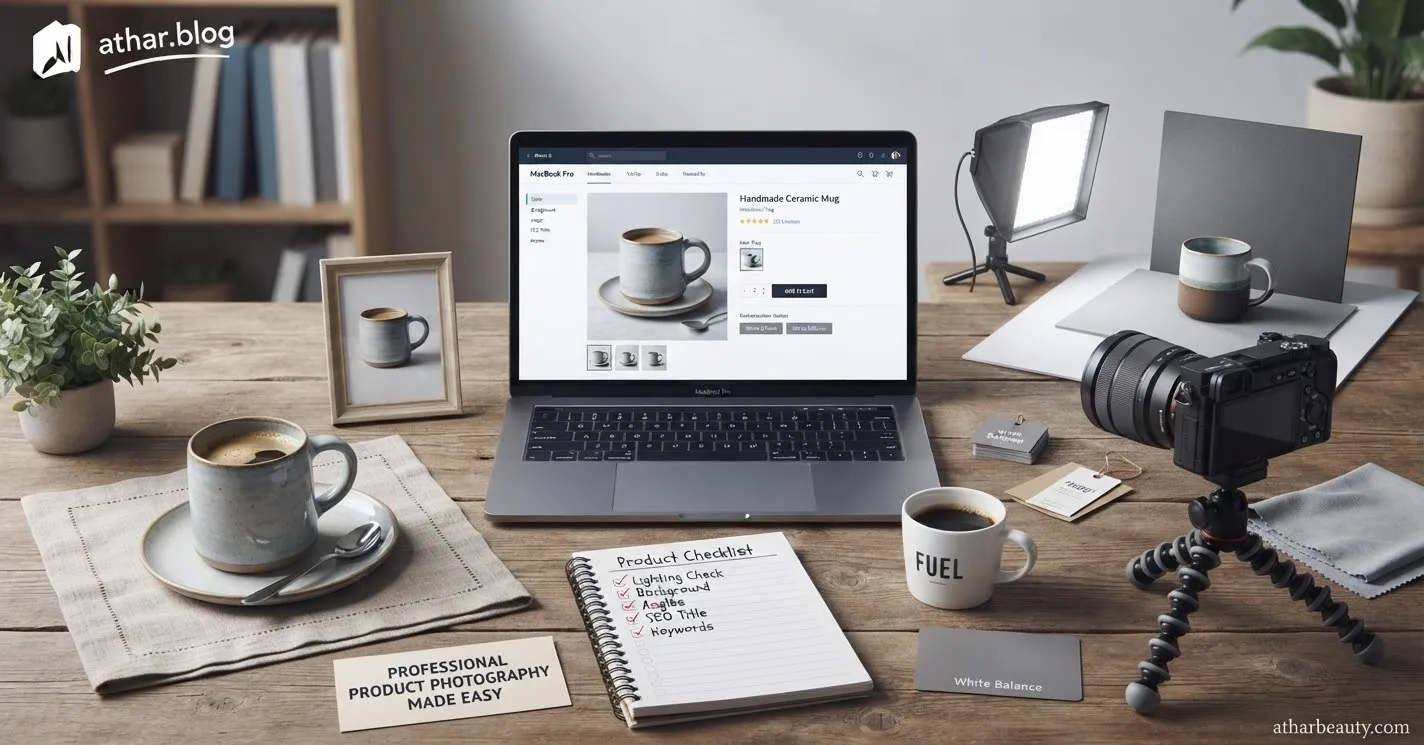
Product photography for e-commerce listings, particularly when conducted from a home environment, can significantly impact sales and customer satisfaction. The key to success isn't about acquiring the most expensive equipment or mimicking professional studios; rather, it's about making deliberate, informed choices that align with your specific circumstances and goals. Your journey begins by clearly defining what you aim to achieve, assessing the resources you already possess, and establishing measurable criteria for success. The objective is to present your products honestly and consistently, fostering trust with potential buyers. This approach emphasizes thoughtful decision-making tailored to your unique constraints, rather than blindly adopting someone else's workflow.
Defining Your Core Objective
Before embarking on any photographic endeavor, it's crucial to articulate the precise result you wish to achieve. Frame your objective as a single, clear sentence. Differentiate between a quantifiable outcome and a vague aspiration. For instance, are you aiming to "reduce customer inquiries about product color accuracy," "decrease return rates due to misrepresented size," or "establish a consistent visual brand identity across all listings"? Each of these represents a distinct job to be done.
Simultaneously, identify aspects of your current product presentation that are already effective. This prevents you from unnecessarily discarding functional elements. Document your existing photography process, noting the time invested, direct costs incurred, and any friction points or frustrations. This detailed baseline is invaluable for objectively comparing future improvements and measuring the true impact of any changes. Without this initial assessment, it's difficult to ascertain whether a new approach truly offers an advantage.
Cultivating a Practical Photography Workflow
A practical approach to home product photography prioritizes simplicity, consistency, and effectiveness over complexity. You don't need a dedicated studio to create compelling images. Start with fundamental elements:
- Natural Daylight: Position your product near a window, but out of direct sunlight, to achieve soft, even illumination.
- Simple Background: A plain white or neutral-colored sheet, poster board, or wall provides a clean backdrop that keeps focus on the product.
- Stable Camera: Use a tripod, even a miniature one, or stack of books to eliminate blur and maintain consistent angles between shots.
Focus on capturing essential perspectives: a clear front view, various detail shots highlighting unique features, and a scale reference to convey size accurately. When evaluating different approaches or equipment, compare them against consistent criteria such as initial cost, setup effort, reliability over time, reversibility (can you easily revert if it doesn't work?), and the impact on anyone else involved in the process. A written comparison matrix can prevent costly missteps by forcing you to consider trade-offs explicitly. Begin with the minimum viable solution; if it proves beneficial, expand and refine it. If not, you can pivot quickly without significant investment.
Illuminating Your Product Effectively
Proper lighting is perhaps the single most impactful factor in home product photography. While natural daylight is often ideal, understanding its nuances is key.
- Directional Light: Position your product so that the light source (window) comes from the side or slightly behind, creating subtle shadows that give depth without obscuring details.
- Diffusion: If the light is too harsh, diffuse it by hanging a sheer curtain over the window or placing a thin white sheet between the light source and the product.
- Reflectors: Use a white foam board or even a crumpled piece of aluminum foil (smooth it out) opposite your light source to bounce light back onto the product, filling in shadows and brightening darker areas.
Essential Equipment for Beginners
You don't need a DSLR camera to produce excellent images. Many modern smartphones offer impressive camera capabilities. Here’s a basic list:
- Smartphone or Camera: Your existing device is likely sufficient.
- Tripod: Even a small desktop tripod for your phone will dramatically improve sharpness and consistency.
- White Poster Board/Foam Board: For backgrounds and as a reflector.
- Window: Your primary light source.
- Small Table or Surface: To place your product on.
Crafting Compelling Product Stories
Consider a ceramic mug listing: instead of dramatic, artistic shadows that obscure its form, the listing benefits from practicality. Images should clearly show the mug's rim for drinking comfort, a detailed view of the handle's ergonomic design, and a shot beside a familiar object, like a standard coffee pod or a hand, to provide an immediate sense of scale. This approach stems from understanding real customer questions and concerns. The goal is to provide visual information that directly addresses potential buyer queries, enhancing their confidence in their purchase. Adapt the scale and specific details to your product type. If your decisions affect collaborators, involve them in the discussion to ensure the changes genuinely serve their needs.
Pitfalls to Navigate
Successful product photography also involves knowing what to avoid. Steer clear of filters that distort true colors or excessive editing that misrepresents the product's actual appearance. Do not crop out minor flaws or defects; honesty builds long-term trust. Inconsistent sizing and varying lighting conditions across your product range make it challenging for customers to compare items or understand your brand's overall aesthetic.
Be particularly critical of advice that lacks context, omits potential costs, or fails to acknowledge uncertainties. Documenting challenges and failures is as important as celebrating successes. A missed target provides valuable data, indicating areas for improvement rather than a reason to abandon your strategy entirely. When dealing with product categories involving health, legal compliance, or sensitive information (e.g., specific materials, safety certifications), always verify local regulations and consult qualified professionals for guidance.
Implementing and Iterating Your Strategy
Your immediate next step should be actionable and measurable. Develop a simple, repeatable "five-shot template" for your product photography:
- Full Front View: Product centered, well-lit.
- Angle View: Showing depth and shape.
- Detail Shot 1: Close-up of a key feature (e.g., texture, unique engraving).
- Detail Shot 2: Another important feature or an inscription.
- Scale Reference: Product next to a common object or held in a hand.
Test how these images appear on different devices, especially small smartphone screens, which are where most e-commerce browsing occurs. Set a realistic date for reviewing your progress—perhaps two to four weeks. At that review point, compare your new images against the baseline you established. Ask yourself: Did this change solve the original problem? Are customer inquiries down? Has the return rate decreased for this product? Based on your evidence, decide whether to continue with the new process, revise specific aspects, or revert to your old method. Sustainable progress is often the result of small, consistent actions rather than a single, dramatic overhaul. Maintain detailed notes throughout this process; your own collected evidence is far more valuable than any generic success story in guiding your future decisions.
Optimizing for E-commerce Platforms
Each e-commerce platform, be it Shopify, Etsy, Amazon, or your personal website, has specific image requirements and best practices. Adhering to these guidelines is crucial for visibility and a professional presentation.
- Image Resolution: Ensure images are high-resolution enough to allow zooming without pixilation, but optimized for web loading speed. Most platforms suggest a minimum of 1000px on the longest side.
- Aspect Ratio: Many platforms prefer square images (1:1) or specific aspect ratios for consistent display across their interface. Check the guidelines for each platform you use.
- File Format: JPEG is generally preferred for product photos due to its balance of quality and file size, while PNG can be useful for images with transparency or sharp lines.
- Keywords and Alt-text: Beyond the visual, ensure your image filenames are descriptive, and you utilize alt-text fields for SEO and accessibility. For example, `ceramic-mug-blue-handle-12oz.jpg`.
By paying attention to these technical details, you enhance both the user experience and your product's discoverability.
Related Articles:

العمل الحر من العالم العربي: دليل البداية خطوة بخطوة
دليل عملي للبدء في العمل الحر: اختيار المهارة، بناء معرض أعمال، التسعير، استلام المدفوعات وتجنب الاحتيال.

أفضل بدائل جوجل أدسنس للمواقع والمدونات العربية في 2026: شبكات إعلانية تقبل المواقع الجديدة
دليل أفضل شبكات بدائل جوجل أدسنس للمواقع والمدونات العربية في 2026. شبكات تقبل المواقع الجديدة بدون شروط تعجيزية وتدفع بانتظام عبر بايبال والعملات الرقمية.
Small Business Marketing Without a Big Budget
Proven low-cost strategies for local shops and freelancers to attract customers and build loyalty.